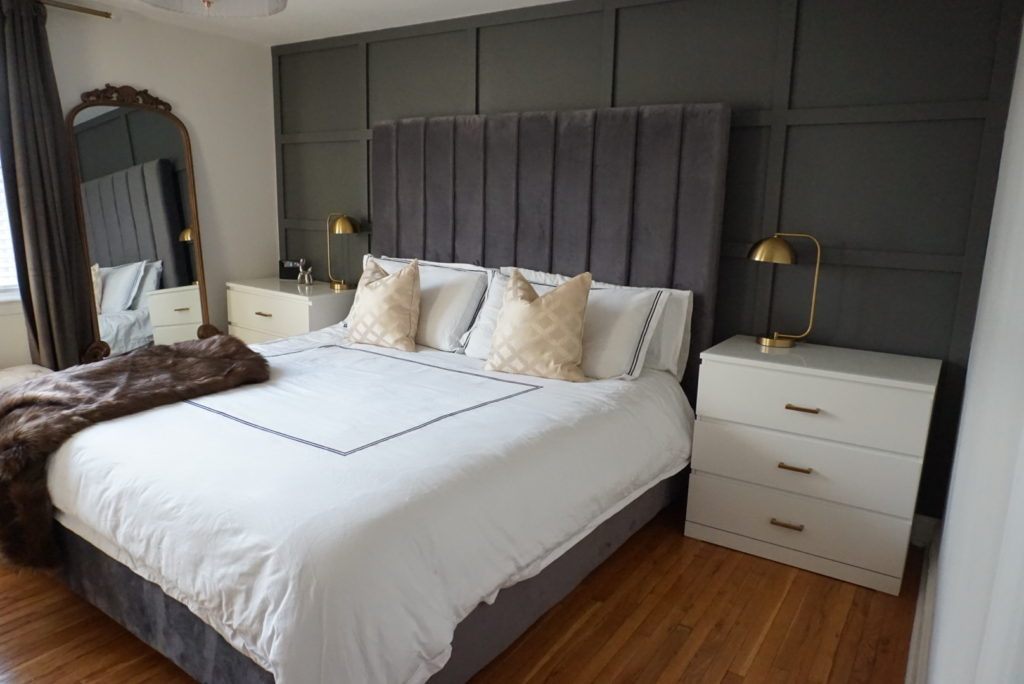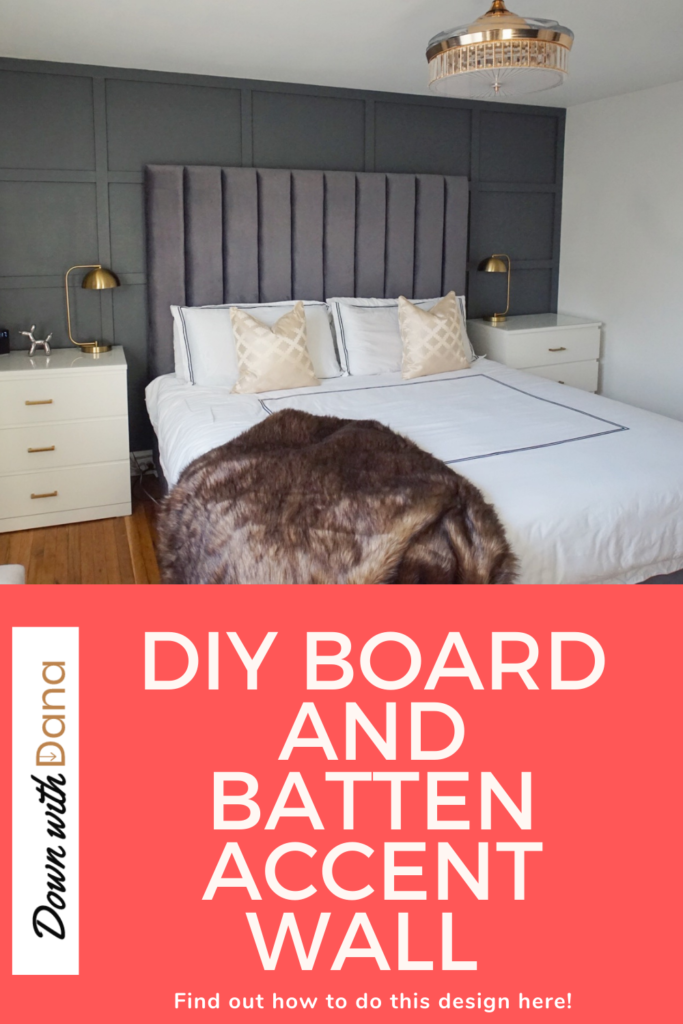
When I bought my home I knew that I would be taking on quite a few diy projects. My master bedroom was essentially a box with four walls and 2 windows and I knew right away that I wanted to create an accent wall that would help transform the space. I was your typical new home owner looking for inspiration on Pinterest and Youtube. In my research I came across the board and batten accent wall which is becoming more and more popular every day.
What is Board and Batten?
Batten is essentially a strip of solid material used in construction or design. In this project strips of wood or mdf material are attached to the wall in a grid pattern. For my wall I used 2.5 inch mdf that I purchased at the Home Depot.
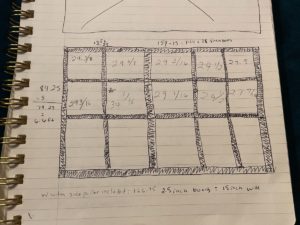
Before diving into the project I sketched my wall on paper. I measured the height and width of the wall and notated that on the sketch. I had to re-measure several times because tape measurers can be quite tricky. I sketched the boards that go around the perimeter first. After that I filled in the board and batten grid design in order to figure out exactly how many columns and rows I could fit in. I determined that 5 columns and 3 rows of boxes would fit nicely into my dimensions.
Measurements
The next objective was to figure out the width and height of the boxes. I measured the width of one of the boards, multiplied that number
the number of boards needed to create the columns and subtracted that from the total width of the wall. Then I divided that number
5. This gave me the width of each column. This process involves quite a bit of trial and error but the beauty of this project is that it does not have to be perfect. I took the measurements and tried to get as close to them as possible when completing the project. In the end some boxes were smaller than others but you can’t tell from looking at it.
Installation
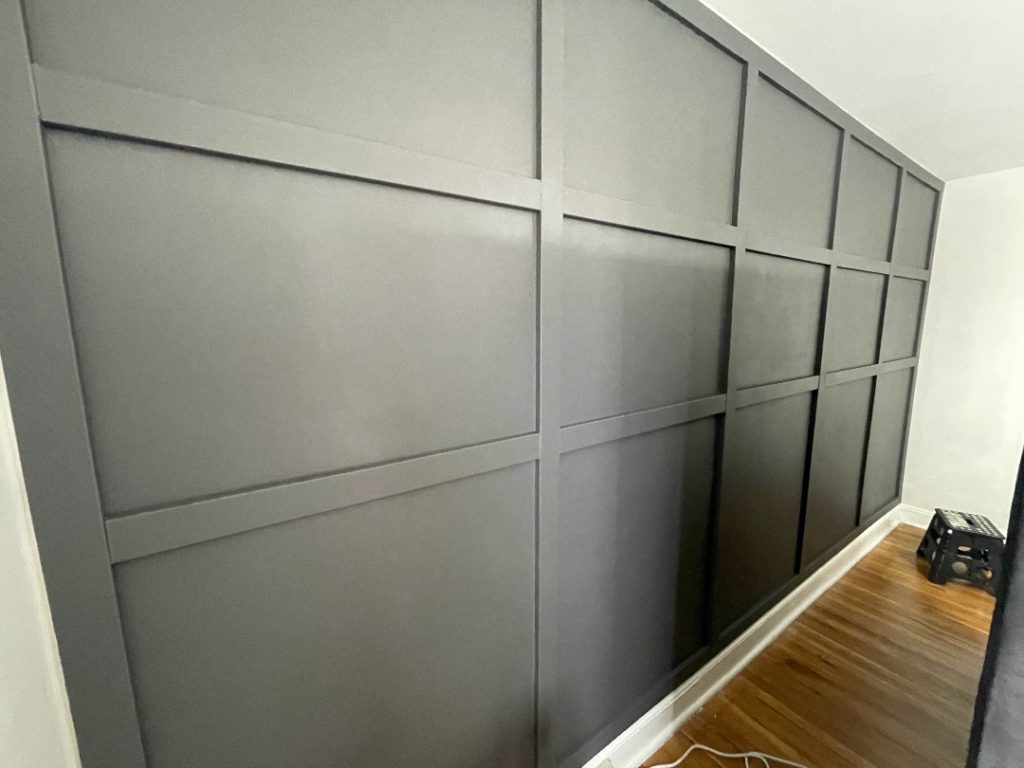
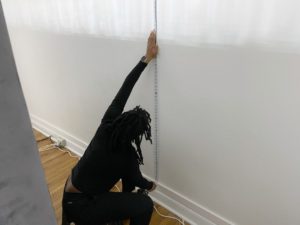
I began to install the boards using adhesive and a nail gun. You will need to cut the boards down to size. I used a reciprocating saw which required me to get help from another person. I’m sure there are better saws to use but it did the job. The first boards I installed were the perimeter boards and then the vertical boards followed. Once the vertical boards were in place I measured the height of the wall from inside of the perimeter boards. I divided the space into 3 rows, cut the boards to size and installed them horizontally to create the boxes. You might notice that I decided to make the bottom row a bit longer than the top 2.

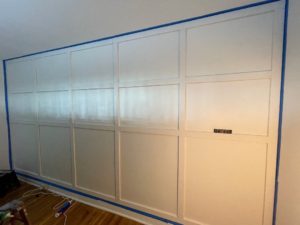
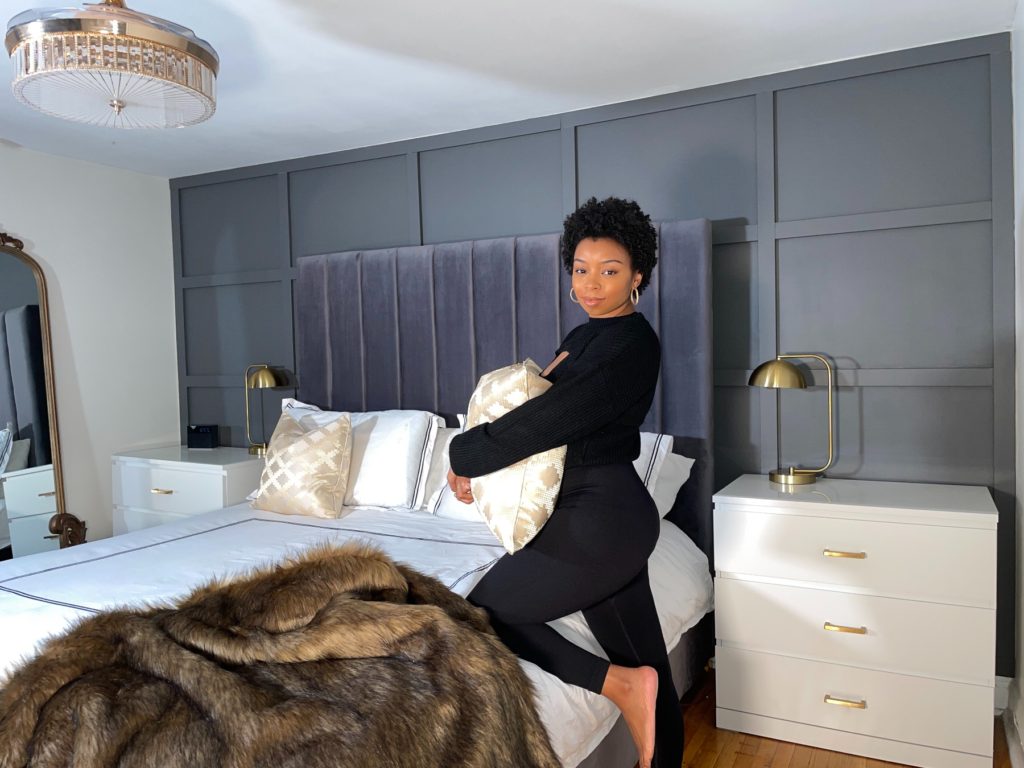
After the board and batten was installed I sealed any visible gaps with caulk and then applied 2 coats of Peppercorn paint
Sherwin Williams. The entire project took about 2 days. This design completely transformed my room and it looks like something on HGTV (in my opinion!). I consider this to be a beginner/intermediate diy but as long as you have the proper tools and can measure and cut you can definitely do this in your own space!
Supplies:
- Measuring tape
- Pencil
- 2.5 inch mdf
- All purpose construction adhesive
- Nail gun (I used electric)
- Caulk and caulk gun
- Level
- Peppercorn Sherwin Williams paint (or your preferred shade)
- Reciprocating saw (or whatever kind works for you)